


Gunite pools offer incredible durability and beautiful design. Gunite consists of cement, water, and sand and is sprayed into an iron rebar frame, allowing it to be seamless and formed into virtually any shape. Installing a gunite pool is an involved process, but the outcome is a gorgeous, custom-made pool that will last a lifetime.
If you’re ready to dive in, here are the steps to gunite pool installation:
- Planning – Gunite pool installers will survey your property to determine the placement and necessary prep work for your gunite pool. Based on their evaluation, you’ll be able to determine the size, shape, and additional features that fit in both your backyard and budget.
- Evacuation – After planning, clearing and leveling the land and digging out the pool shape are the next steps in a gunite pool installation. The time, effort, and cost of this step will depend on your yard, the size of your gunite pool, and the extra features you utilize. Depending on the custom design you’ve chosen, our pool installers may need to prep utility piping and electrical wiring during this step as well.
- Rebar installation and gunite application – It’s time to frame your pool! During this step, our gunite pool installers will create the pool frame using iron rebar (steel bars). Then, gunite is applied through a spray gun designed specifically for gunite. Gunite pool installation requires special training to apply the gunite property to ensure its durability.
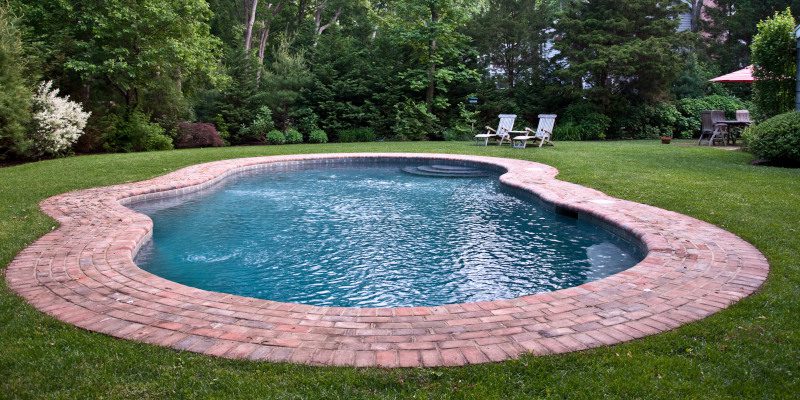
- Finishing touches – Depending on the outer pool finish you select, the final pool surface will be applied (plaster, tile, pebbles, etc.) after any electrical wiring and other piping are completed. The pool area will be integrated with your property per your desired aesthetics. After the final inspection, it’s time to fill your new gunite pool and dive in!